Violet laser diodes are becoming more common thanks to the popularity
of the Play Station 3 and Xbox 360, and with the Xbox 360 being
discontinued
cheap surplus sleds are becoming available. I decided it was about time
to
try making a laser pointer myself, so I picked up a PHR-803 sled from
ebay. Laser diodes are sensitive devices, and will burn out if not
treated carefully. To begin lasing a diode can require up to 80% of
the current it would take to kill it, so the margin for error
is small. The only practical way to drive a laser diode is with a
constant-current source, and carefully watching the power output. For
driving small laser diodes I've made a simple constant current source.
The circuit works by measuring the voltage across the 5.6 Ω
resistor, since the voltage across the resistor will be proportional to
the current flowing through it. The voltage is kept small to lower
power dissipation and prevent necessitation of a larger voltage source.
Because the voltage is so small it is amplified by a non-inverting
amplifier. Adjusting the gain of the amplifier allows the magnitude of
the sensed current to be adjusted, allowing a wide range of regulation
currents. The
measured current is compared to the stable reference voltage provided
by the TL431, and an error is sent to the BD139. The op-amp will
attempt to keep the measured current signal equal to the reference
signal, and thereby keep the current constant by constantly adjusting
the base current to the BD139. The 1N5815,
1µF capacitor and 22nF capacitor are for protecting the diode
from ESD, reverse voltage, etc. I've made a spreadsheet calculator to
ease modifying the circuit for different regulation ranges. Download.
I tested my laser between 60 and 90 mA, though it's said to tolerate
110mA. Burning stuff can be done with DVD lasers, so I don't plan on
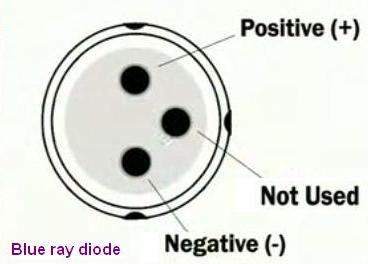
pushing my violet diode. I had to look up the pin out at "Laser Pointer
Forums", since I failed to determine it empirically. This is what the
pin out is:
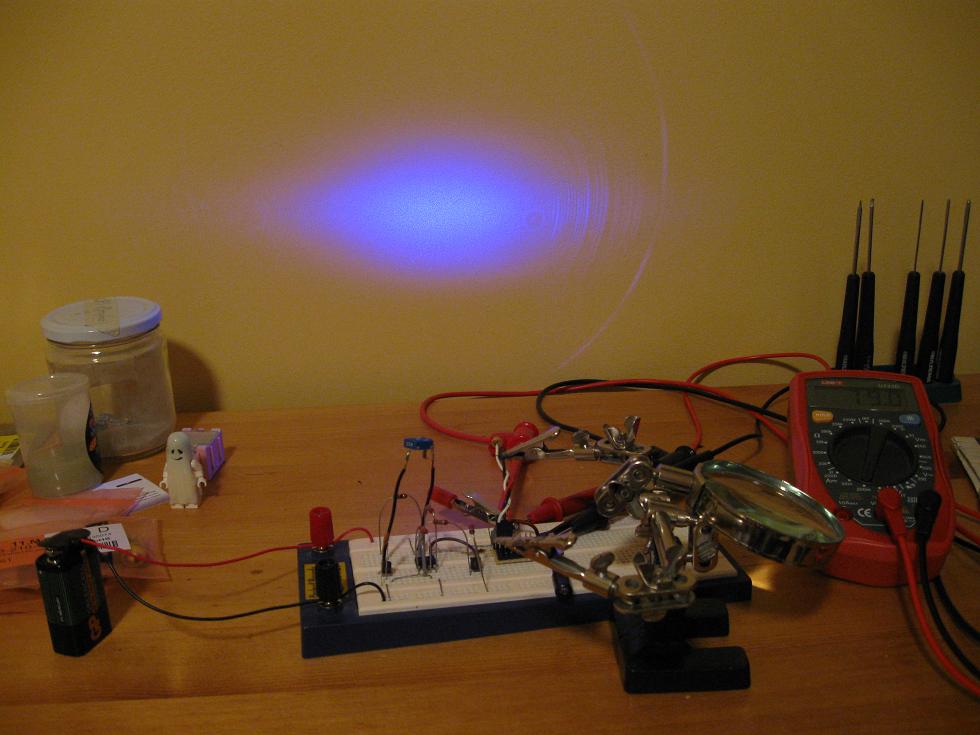
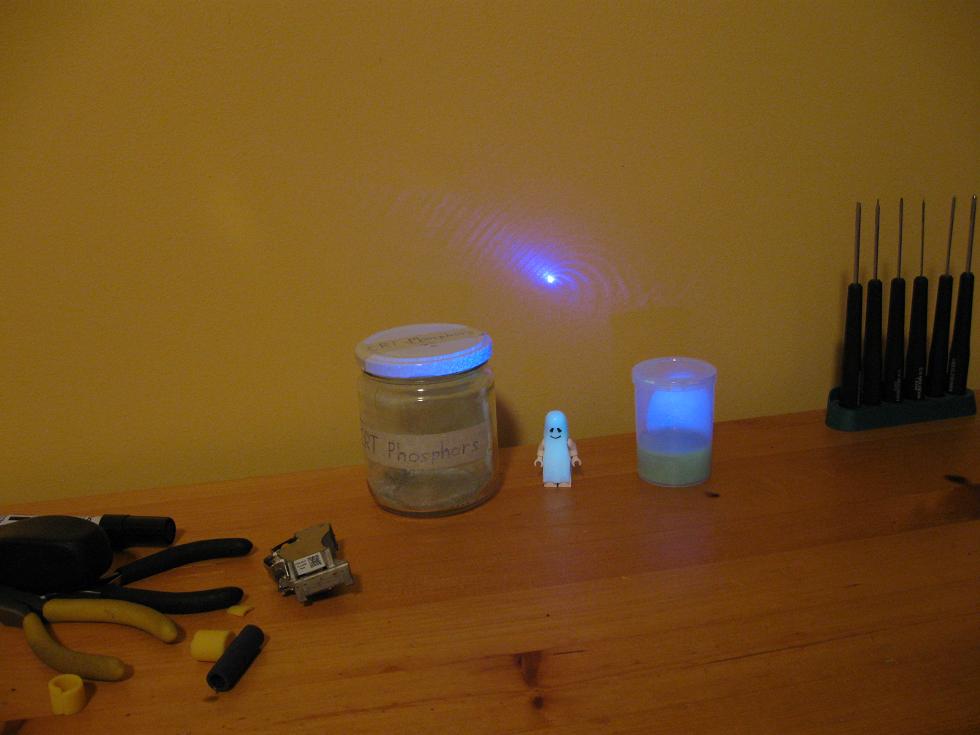
Here are some images of the beam before collimation, ie from the bare
laser
diode. When purchasing bare laser diodes remember that they require
additional optics to make a nice laser pointer beam. Commonly
something such as an "Axiz module" or the optics from an old laser
pointer are scavenged for this purpose.
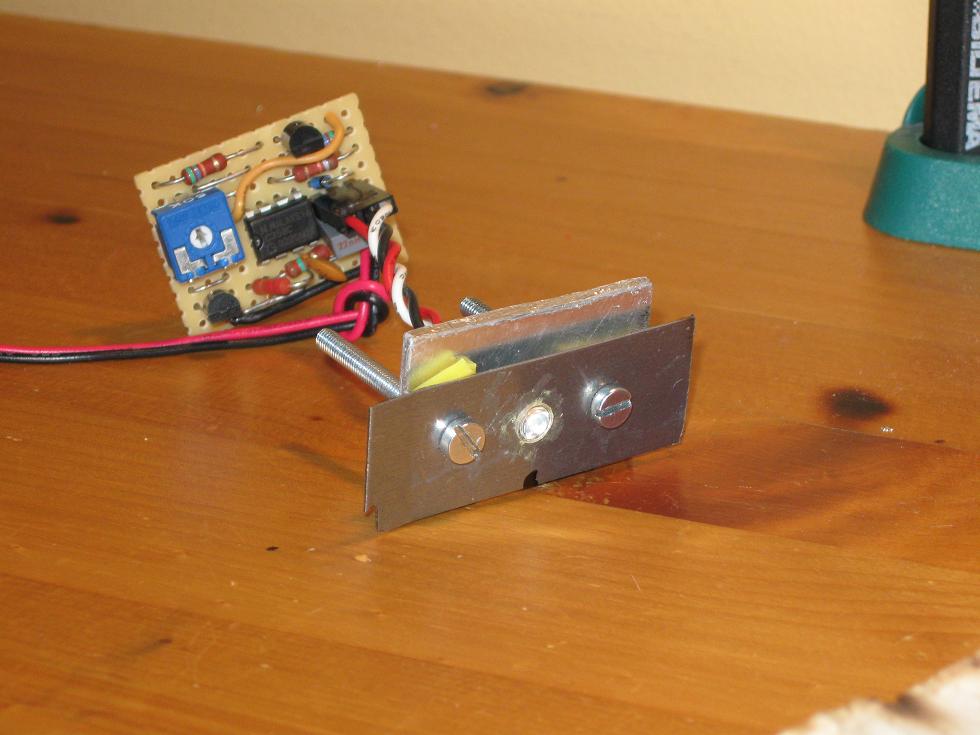
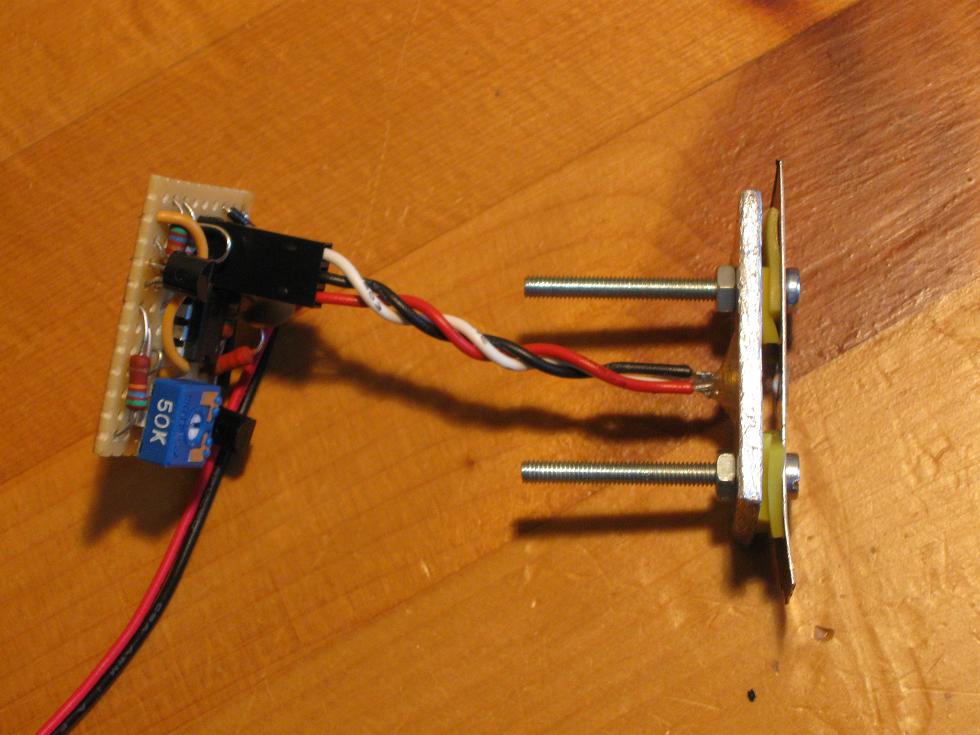
Lacking
an Axiz module and not being able to collimate the beam properly with
an old laser pointer collimator, I opted to build one myself. The final
focusing lens from the PHR-803 was taken and mounted on a
transformer lamination, while the diode was mounted on a segment of
aluminum heatsink. With two screws I could crudely adjust the position
of the lens and more or less collimate the beam. The result isn't too
bad, but the diode and lens are a bit off center, visible by the lines
in the beam. The lines originate from the lens, which is some type of
Fresnel lens.
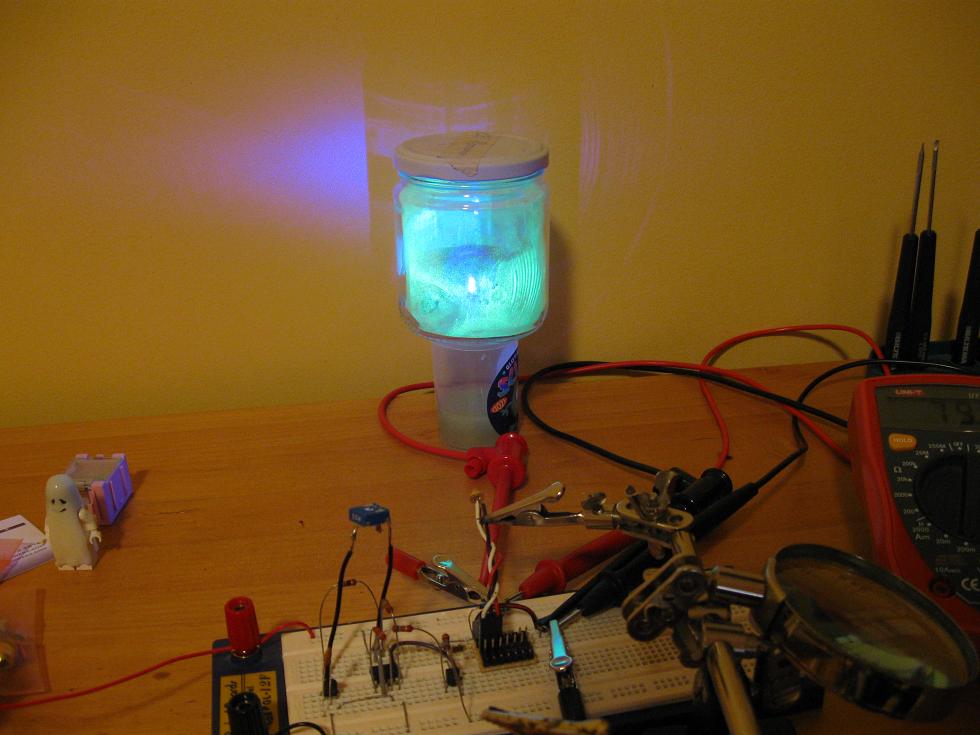
Youtube
video of
fluorescent stuff being shown upon.
Disclaimer:
I do not take responsibility for any injury, death, hurt ego, or other
forms of personal damage which may result from recreating these
experiments. Projects are merely presented as a source of inspiration,
and should only be conducted by responsible individuals, or under the
supervision of responsible individuals. It is your own life, so proceed
at your own risk! All projects are for noncommercial use only.


 This work is licensed under a
Creative Commons Attribution-Noncommercial-Share Alike 3.0 Unported License.
This work is licensed under a
Creative Commons Attribution-Noncommercial-Share Alike 3.0 Unported License.