Peak Efficiency (at 200V bank voltage, 11g projectile)
2.65%
Intro
A coil gun is among the
easiest to construct and most reliable electromagnetic projectile
accelerators. Consisting of a coil/solenoid and high current source of
electricity. How can a hollow coil
and electricity accelerate things? A ferrous projectile is placed
partway into the coil. When the trigger is triggered the high current
source is connected to the coil, causing large currents to flow through
the coil. In practice the high current source is a capacitor bank which
can quickly discharge it's stored energy, resulting in a short term
high current source. The magnetic field strength in a solenoid is
proportional to the current flowing through the coil, and the larger
the field strength the larger the acceleration will be on ferrous
materials. When the coil is energized the field strength becomes so
strong the projectile is sucked into the center of the coil. The trick
here is to stop the current just before the projectile reaches the
center of the coil, otherwise it would stick in the coil. The speed
which the projectile gained while being attracted to the coil is what
now propels it forward and out of the coil. The physics behind the
basic functioning aren't too complicated. Switching currents
approaching 1-2kA isn't an easy task, and all mechanical solutions have
large losses. For a practical trigger the SCR is used, which can handle
the required pulse currents quiet and efficiently. Components can be
seen below.
It doesn't take many components to put together a single stage coil gun, but due to the high energy involved a
single error could result in a violent failure. The peak current, discharge time, reverse current/
voltage can be calculated, and are characteristic for each coil gun. A coil gun makes up an RLC circuit, which makes determining
the characteristics easy. Barry has made an excellent simulator here -> RLC Simulator
By simply plugging in the component values one can predict how the circuit will operate. This is what my coil gun looks like:
The SCR should have a pulse current rating at least 10% over the estimated maximum current. The
50RIA120 can pass 1.5kA for 8ms, which is perfect for my coil gun. The reverse diodes are there to protect the
capacitor from being reverse charged by the energy in the coil when the
SCR turns off. They give a path for the negative current pulse,
and should be rated for the estimated current. The 68 ohm resistor and 12V battery
simply give some initial current to turn the SCR on. Once on it latches
until the current falls below a certain level. The coil is wound on a
non-conductive and non-magnetic form, which allows the projectile to
pass freely through the coil. The coil former should be as thin as
possible, but keep in mind that the coil shrinks with great force
when firing, so the barrel must be strong. For charging the capacitor
bank I use a boost converter, which is able to charge the bank to
430V in 30 seconds from a 12V source.
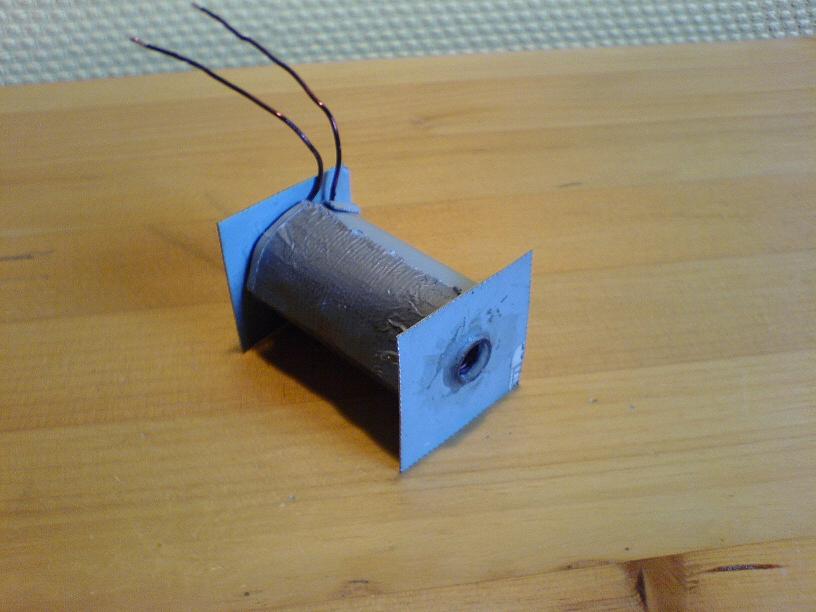
Coil and Projectiles
This is what the coil looks like. External iron/steel is used to confine the magnetic field and
help concentrate it on the projectile, while holding the coil
together. The wire needs to be pretty thick to sustain the high
currents without shattering. 15 AWG should hold up to 1.5kA for short
durations. My coil uses 17AWG and it gets warm after just a few shots.
The coil is 5.5 cm long, and I used 10 meters of wire. No idea how
many turns or layers though. The inductance with no projectile was
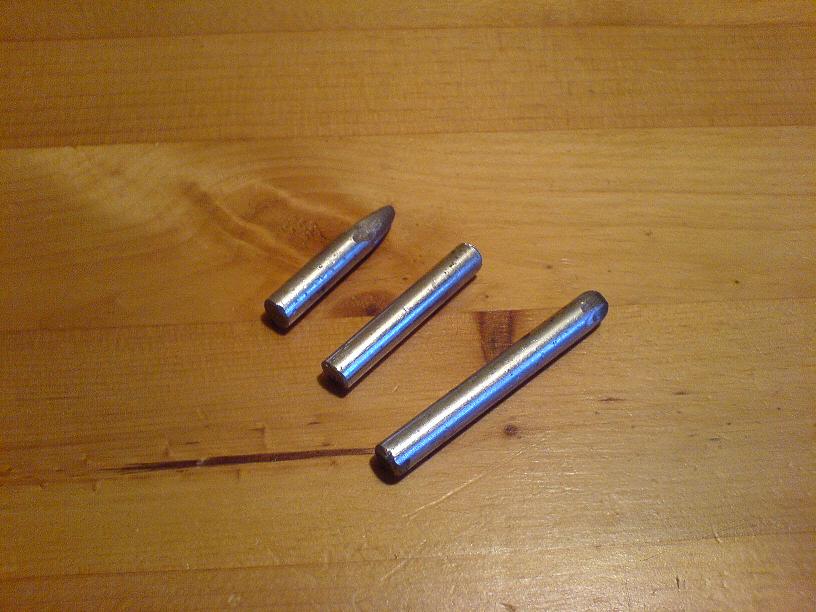
measured to 80µH, which allows for a short high current pulse. The projectiles I
used weighed 9, 11 and 17 grams. The projectiles should fill as
much of the barrel as possible in order to experience the most force. I
used thick projectiles in hopes that they would not saturate as fast, and thus
absorb as much energy as possible.
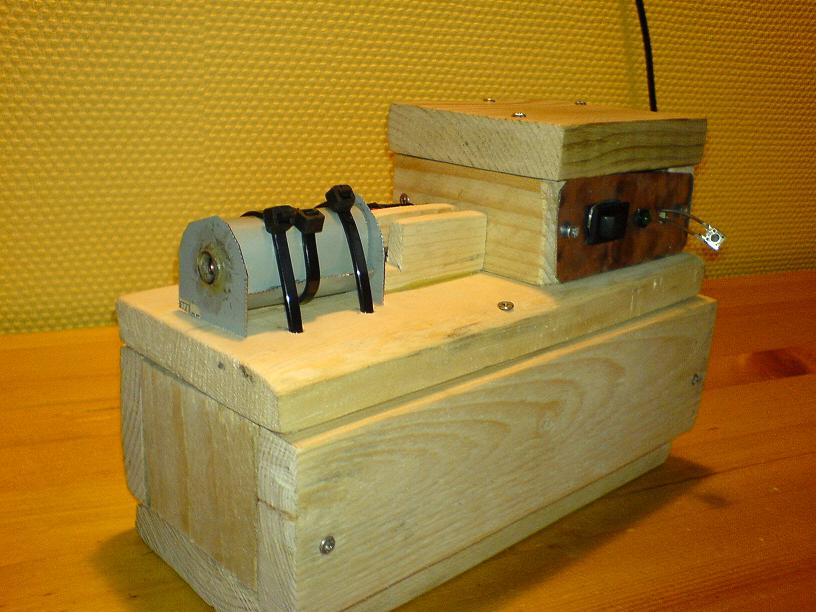
Actual coil gun
The completed coil gun in all its ugliness, and no, I couldn’t have made it look better or I
would have. A locomotive look was not what I was aiming for. The switch
hanging out the side is the firing switch, which needs replacement. I
didn’t have the proper type at hand. At least this coil gun is
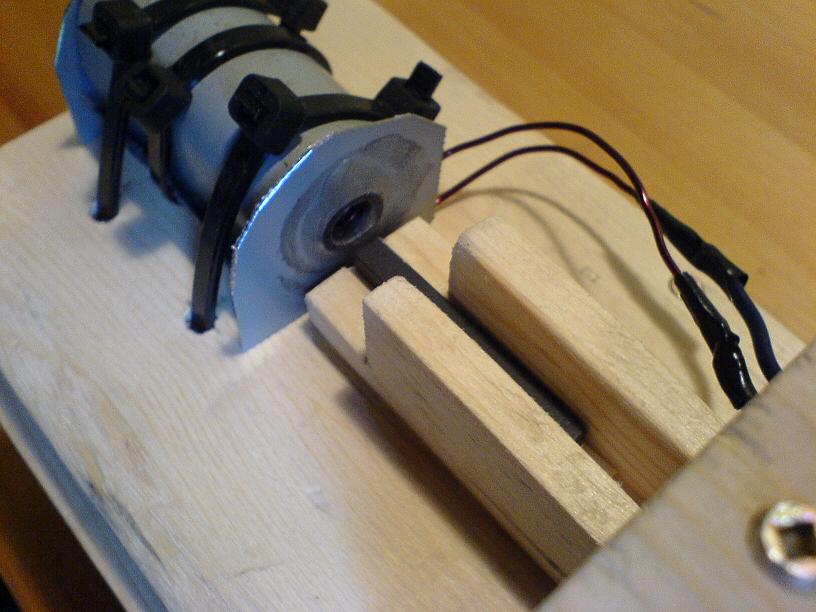
portable. The loading mechanism will hold the projectile in place, it's
not to complicated yet. A magnet is glued to the bottom of the runway to hold the projectile.
Once in place the projectile stays there, even when the gun is shaken upside down. The
magnetic is too weak to restrict the projectile while firing, and
actually helps by holding it in place until the magnetic field has built up
enough. The coil is held together and fastened with zip-ties. Ghetto. I
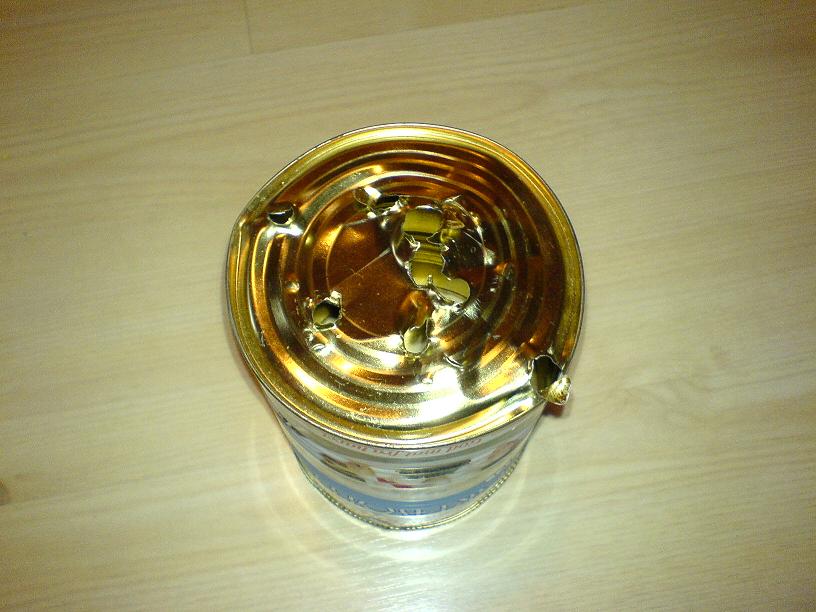
tried sending the blunt 17 gram slug through, but that only resulted in a huge bulge in the bottom of the can.
However the 17 gram projectile was able to fly sideways straight
through a shoe-box without the box so much as flinching, which was one
of the most awesome shots I've ever seen.
Measuring Projectile speed and calculating efficiency
There are three common ways of measuring speed. One is to make a
speed-trap, but that's the most elaborate. If you have a microphone, a
PC with audio editing software and two sheets of paper there's an
easier way. Basically set the two sheets up at a known distance, put
the microphone at the first sheet and shoot through the paper while
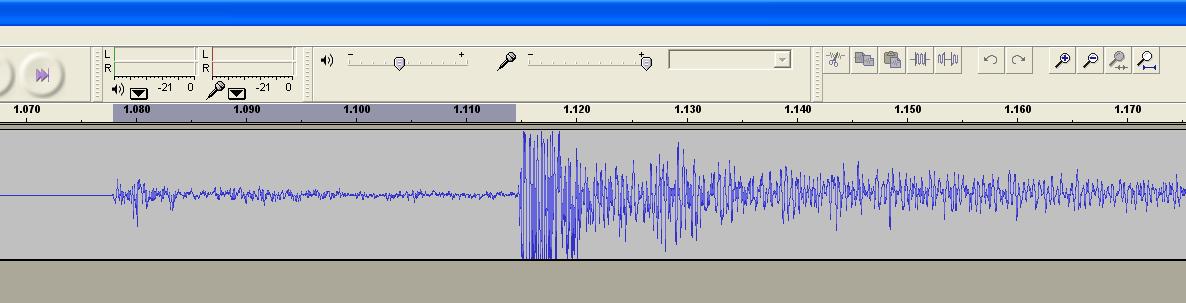
recording. When you look at the audio signal later there will be two
spikes when each sheet was penetrated. The time between these spikes
will be the time the projectile used to cover the known distance.
V = (D / (T - D / S))
Where D is the distance between the papers, T is time and S
is the speed of sound, 340m/s. This is most accurate with higher energy
projectiles, because some kinetic energy is lost to penetrate each
sheet. Not much, but with low energy coil guns enough to seriously slow
the projectile down. My coil gun made some muzzle noise when firing,
which allowed me to ignore the first sheet. For the second sheet I used
a tin can which made a much more audible sound on impact. Of course
muzzle noise isn't the best indicator of the start time, since the
projectile uses some time to accelerate.
The final and simplest method is fairly accurate and only requires a
stop-watch. You point the coil-gun straight up and shoot, while
measuring the time between firing and when the projectile hits the
ground. With some basic high school physics one finds that the initial
speed is given by:
V = 9.81 * (T / 2)
Optionally one can record the shot with a microphone and hope it picks
up the sound of the projectile landing. I used all three
methods when testing my coil gun and there were no big gaps between the
measured speeds. Once the speed and mass is known it's a simple matter
to calculate the kinetic energy the projectile had. E = 0.5 * M * V^2
For quick calculations I've made a spreadsheet calculator available for download.
Test fire Video
Disclaimer:
I do not take responsibility for any injury, death, hurt ego, or other
forms of personal damage which may result from recreating these
experiments. Projects are merely presented as a source of inspiration,
and should only be conducted by responsible individuals, or under the
supervision of responsible individuals. It is your own life, so proceed
at your own risk! All projects are for noncommercial use only.

 This work is licensed under a
Creative Commons Attribution-Noncommercial-Share Alike 3.0 Unported License.
This work is licensed under a
Creative Commons Attribution-Noncommercial-Share Alike 3.0 Unported License.